Showing posts with label wool. Show all posts

Tuesday, September 2, 2014

Christmas Projects--New Pattern for September

I know, I know... it's WAY too early to be thinking about Christmas!
It's not even officially fall yet!
But, I did want to give you lots of time to get these projects done before the crazy holiday season descends on us.
So here's my latest Christmas pattern called "A Primitive Christmas" (it's a two for one kinda deal)!
 Included in the pattern is a 9" x 12" (inside frame measurements) primitive stitchery.
It includes fun little motifs like an angel, stocking, house with Christmas lights, tree, manger, candy-canes, snowman, mittens, bells, holly, Santa, and a skate.
I've kept the embroidery simple, outlining the shapes and filling in with random cross-stitches.
 Then, there's also a pattern for this 13" diameter wool penny rug, included.
You can see it uses the same simple motifs but this time they're appliquéd in wool onto the pennies.
(It's really not this bright.)
You can find this pattern on the New Patterns page of my website.
While you're there, make sure to check out my other new offerings!
That's it for now!

Sunday, September 16, 2012

Blog Tour and Book Giveaway - Week 8

Welcome back to our blog tour and book giveaway!  Hasn't it been fun?  I'm a little sad that today is our last stop--I'll just have to write another book so I can do this again!
 
Haven't found out yet who won last week's giveaway but congratulations!  Michelle will let me know as soon as she draws the name and I'll get the book out to you asap!

Today we're heading across the country again--this time to West Virginia,
home to Jeni Gaston, Judy Williamson and Gretchen Streeter, the supremely gifted sisters and co-creators of "Primitive Quilts and Projects" my favourite quilting magazine.  I'm so glad someone finally decided to publish a magazine specifically for us primitive quilters!
In addition to publishing this wonderful magazine, they are co-owners of the Woolen Willow quilt shop, pattern designers, wool dyers, you-name-it!  A visit to their shop is definitely on my bucket list.  I'm so happy that in their extremely busy schedule, they found time to post about my book on their blog!

If you're one of my followers, go over to their blog and leave a comment for a last chance to win a copy of my book.  Good luck everyone!
I'm thrilled that they've asked me to design a pattern for the spring 2013 issue and to be in the company of the many talented contributors to their magazine. Just look for a pattern with lots of prim houses.  Here's a teaser--
Hope you'll like it! 
Thanks so much to all of you who've been a part of this blog tour!
We couldn't have done it without you.

Wednesday, April 18, 2012

Free Pattern--Little Lambs Garland

Here's a sweet little wooly lamb garland to welcome spring into your home.
And it's easy and fun to make!
First, take a lid about 3" wide and trace around it onto a double layer of muslin.  
Make 3 circles at least 1/2" apart.
Pin the circles together and stitch around them on the traced lines, leaving about 1 1/2" open.
Cut out 1/4" beyond the traced line.
Turn the circles right side out.
Draw an oval about 3/4" wide and 1" long onto a piece of freezer paper.
Center the oval above the circle opening and about 1/2" from the edge.
Iron the freezer paper onto the circle.
Trace around each oval and remove the freezer paper.
Stuff with polyfil.
Thread a long needle and knot one end.
Bring the needle up through the opening and through the inside, coming out at the top of the oval.
Take a little stitch to the right and bring the needle inside through the polyfil close to the start of the first stitch.
Take a second small stitch down the left side of the oval and come up at the bottom of the stitch on the right side.  (If you've ever made sculpted noses on dolls, this is the same thing.)
Pull the stitches together a little bit, just to make the face 3 dimensional.
Repeat all the way to the bottom of the oval and knot off your thread inside the circle.
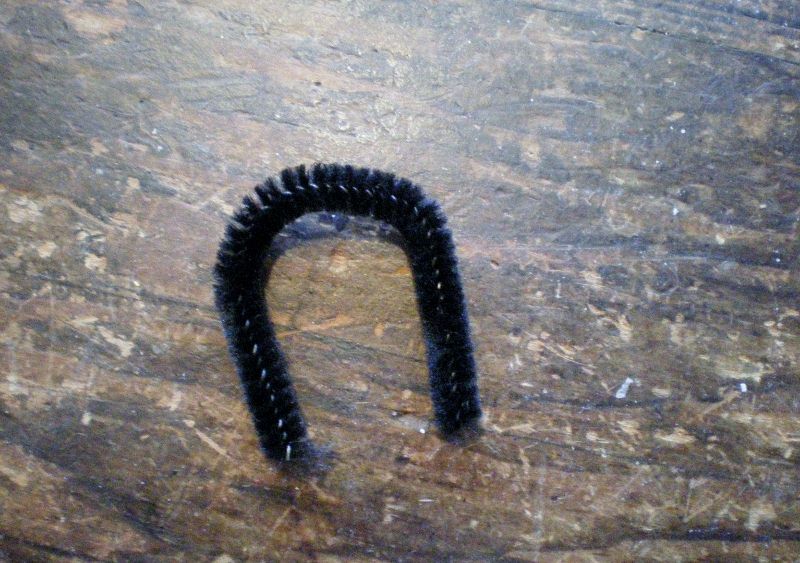
Cut a 3" long piece of black chenille stem and form into an upside-down "U".
Insert the rounded part of the stem into the opening on the circle.
Hand-stitch the opening closed.
Paint the inside of the oval black and let dry.
Sand the oval a little bit with fine sandpaper.
Take bits of wool and use a medium felting needle to poke the wool into the muslin, everywhere except the face.  
(If you don't have wool available, I sell it on my website).
Paint a scrap of muslin black on both sides and let dry.
Sand with fine sandpaper.
Cut 3 pieces from the scrap, each about 1/2" x 2".
Round off the short ends.
Pinch the center and stitch to the top of the face.
Cut some rusty wire about 30" long and poke through the side of one of the sheep, coming out the other side. 
Thread the 3 sheep onto the wire.
Tear 4 lengths of homespun, each about 1/2" x 6" and knot on the wire between the sheep.
Twist the ends of the wire wherever you want to hang your wooly garland.
Done!