


Here's a sweet little wooly lamb garland to welcome spring into your home.
And it's easy and fun to make!

First, take a lid about 3" wide and trace around it onto a double layer of muslin.
Make 3 circles at least 1/2" apart.

Pin the circles together and stitch around them on the traced lines, leaving about 1 1/2" open.
Cut out 1/4" beyond the traced line.

Turn the circles right side out.
Draw an oval about 3/4" wide and 1" long onto a piece of freezer paper.
Center the oval above the circle opening and about 1/2" from the edge.
Iron the freezer paper onto the circle.

Trace around each oval and remove the freezer paper.
Stuff with polyfil.

Thread a long needle and knot one end.
Bring the needle up through the opening and through the inside, coming out at the top of the oval.
Take a little stitch to the right and bring the needle inside through the polyfil close to the start of the first stitch.
Take a second small stitch down the left side of the oval and come up at the bottom of the stitch on the right side. (If you've ever made sculpted noses on dolls, this is the same thing.)
Pull the stitches together a little bit, just to make the face 3 dimensional.
Repeat all the way to the bottom of the oval and knot off your thread inside the circle.

Cut a 3" long piece of black chenille stem and form into an upside-down "U".
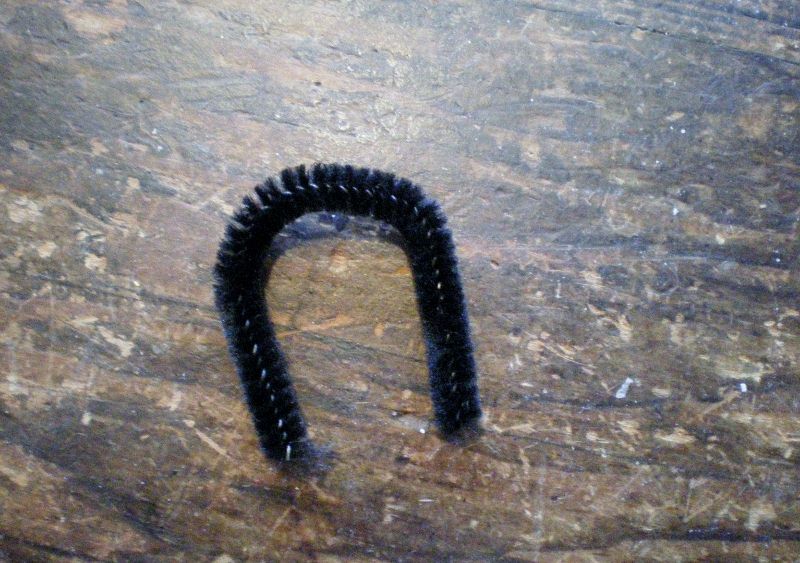
Insert the rounded part of the stem into the opening on the circle.
Hand-stitch the opening closed.

Paint the inside of the oval black and let dry.
Sand the oval a little bit with fine sandpaper.

Take bits of wool and use a medium felting needle to poke the wool into the muslin, everywhere except the face.
(If you don't have wool available, I sell it on my website).

Paint a scrap of muslin black on both sides and let dry.
Sand with fine sandpaper.
Cut 3 pieces from the scrap, each about 1/2" x 2".
Round off the short ends.

Pinch the center and stitch to the top of the face.

Cut some rusty wire about 30" long and poke through the side of one of the sheep, coming out the other side.
Thread the 3 sheep onto the wire.
Tear 4 lengths of homespun, each about 1/2" x 6" and knot on the wire between the sheep.
Twist the ends of the wire wherever you want to hang your wooly garland.
Done!


.jpg)


